How to Cook Red Beans and Rice in a Pressure Cooker #LifeInCheck #EBTSNAPapp
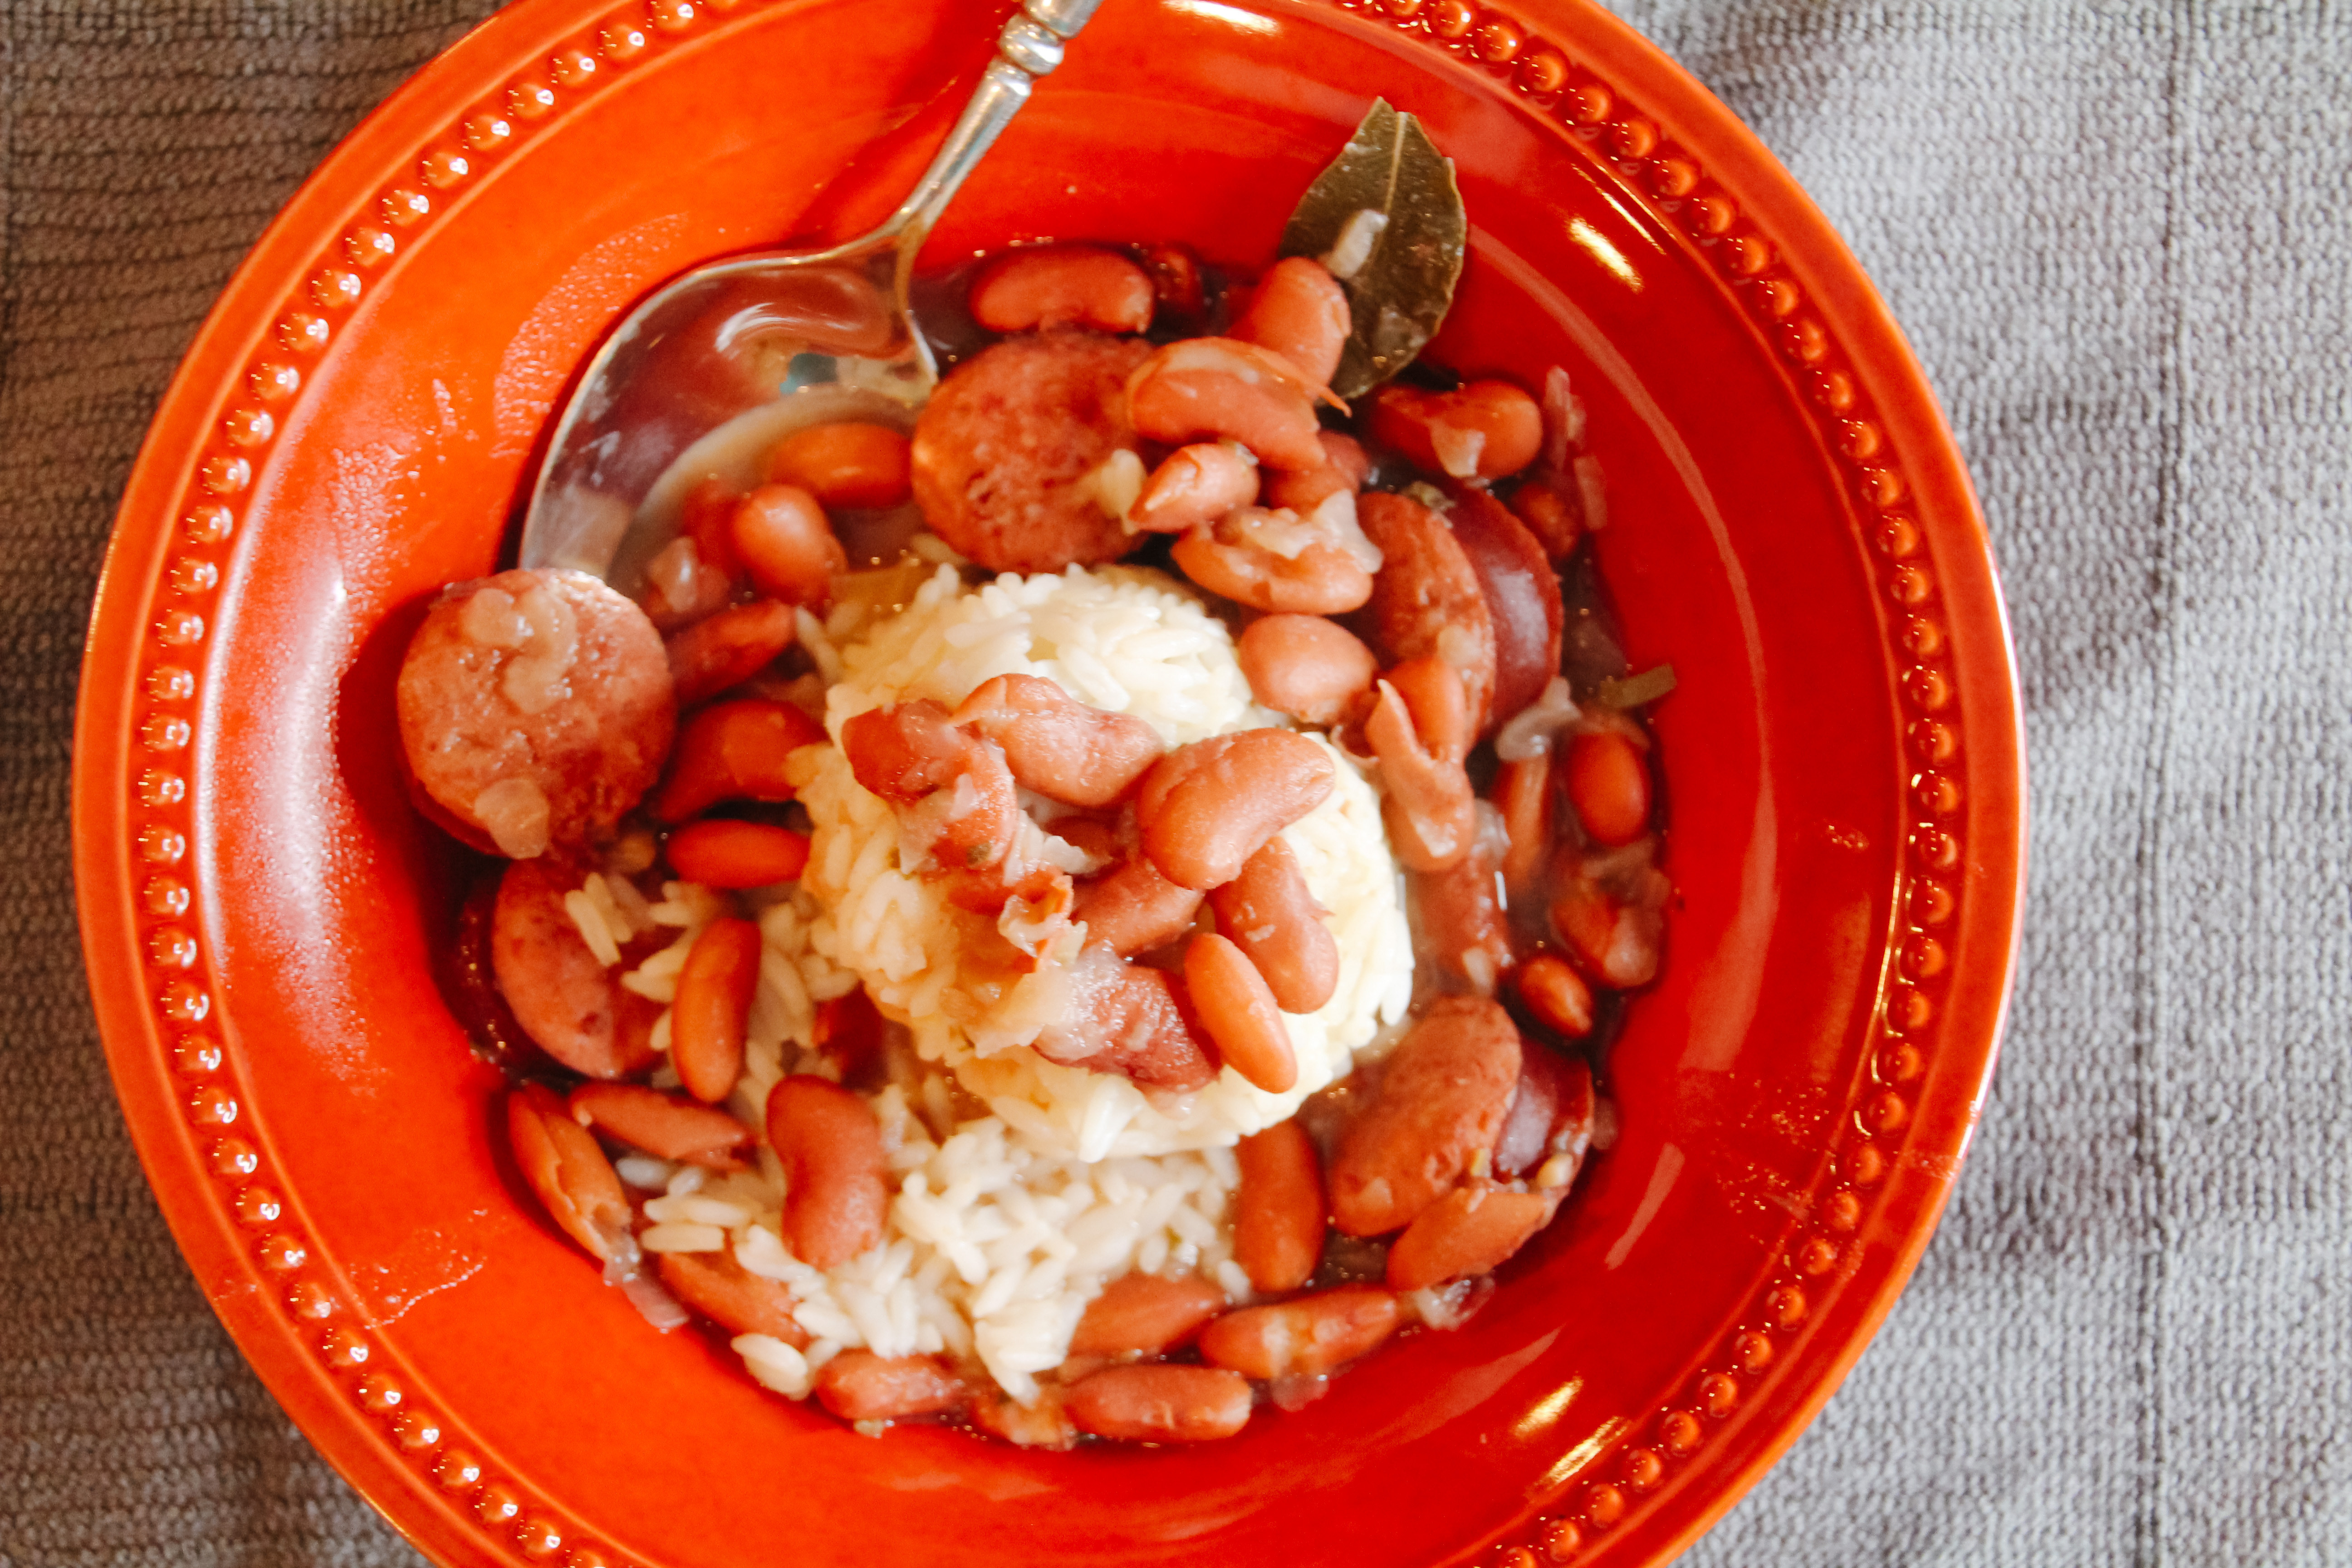
This shop has been compensated by Inmar Intelligence and its advertiser. All opinions are mine alone. #LifeInCheck #EBTSNAPapp Living in New Orleans certainly has its perks. From toe tapping music to fun festivals and from the resiliency of our people to the neighborhood block parties, I love it all! But, if there is one thing that I … Read more