Ever since I was a little girl I remember my mom and grandmother spending hours (even days) in the kitchen preparing special treats for our teachers, friends and family. They were always so creative when it came time to make something for us to give out. Now that I have children of my own I am continuing the family tradition. I recently saw plates these plates made with real peppermints and I couldn’t wait to get to the store to buy the supplies.
What you will need:
Peppermints (you can use red or green or a combination of both)
Parchment paper
Cookie Sheet
Preheated oven at 350 degrees
How to Make It:
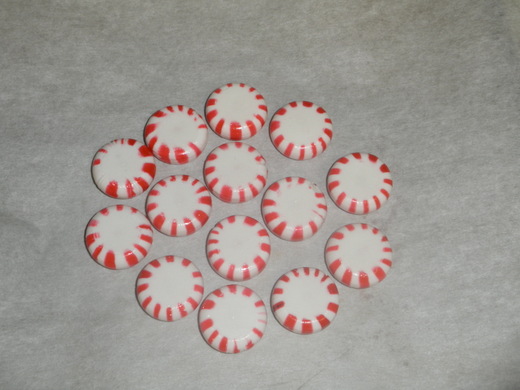
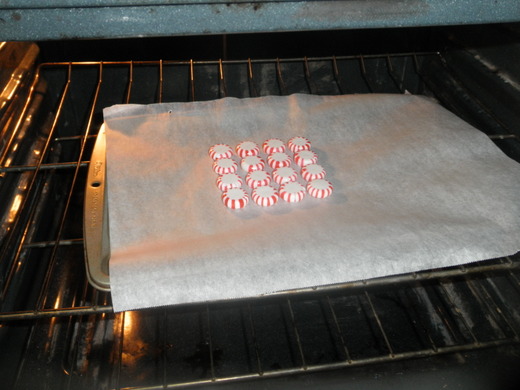
Place your unwrapped peppermints in a design on the parchment paper, you can get as creative as you want with your designs, especially if you use both colors together. Make sure that the mints are close together, but not touching so that they can melt together once they are in the oven. Place the parchment paper on a cookie sheet and put in the 350 degree oven.
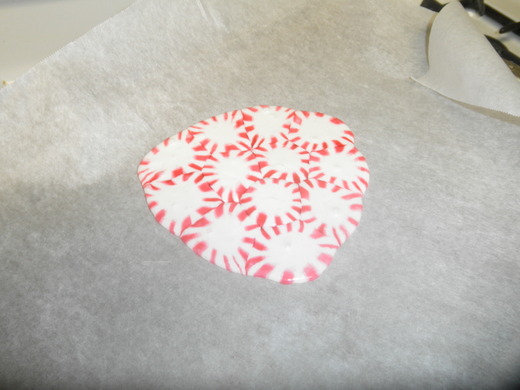
Leave in the oven for approximately 8 minutes. This may vary from oven to oven. It is important to keep a close eye on your peppermints the last couple of minutes or so to avoid them being over cooked.
Remove from oven and let cool on the cookie sheet for about 5 minutes. Then move the ‘plate’ to the cooling rack and let sit in the parchment paper for an additional 10 minutes. Once the peppermints are completely cool, gently peel the parchment paper off.
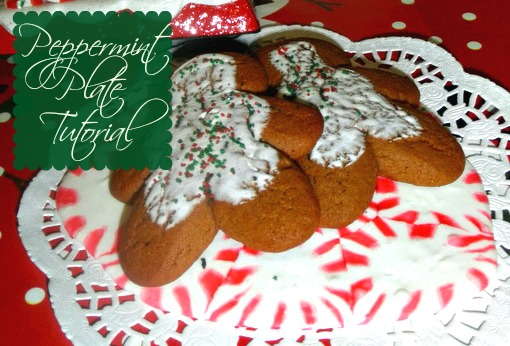
Once the plates are finished you can use it to put candy, cookies or anything other treats on. The best part is the fact that you can make the plates any size you want depending on what you are going to use them for. I made these small because I am using them to put a couple of cookies on for my son’s teachers.
Happy Holidays!


What a cool idea!
Love the idea and all flavors of tea
Love this idea… so much fun.
So cute!!
Cool! Weird question… but If it got wet, would it become sticky??